Pick a VoIP plan that fits your budget and features (spam blocking, voicemail-to-text, mobile apps, international). Use a stable wired connection, QoS router, and at least 100 kbps per call. Plug an IP phone or ATA into your router via Ethernet, power it, and connect your handset. Create your account, enter SIP settings, enable Wi‑Fi calling, and update firmware. Test with VoIP speed tools, tweak QoS/codecs, and avoid heavy traffic during calls. Next, you’ll see how to fine-tune quality.
Key Takeaways
- Choose a VoIP provider and plan that match your budget, features, devices, and international needs; favor no-contract trials and clear fees.
- Ensure a stable wired internet connection; use a QoS-enabled router and allocate at least 100 kbps up/down per concurrent call.
- Connect IP phones or ATAs via Ethernet to your router; power via PoE or adapter and verify continuous power to adapters.
- Create your VoIP account, enter SIP credentials on devices or apps, update firmware, and configure voicemail, forwarding, and caller ID.
- Test call quality with VoIP speed tests; optimize QoS, reduce heavy traffic, prefer Ethernet over Wi‑Fi, and troubleshoot latency, jitter, and packet loss.
Choosing the Right VoIP Service and Plan
Before you pick a home VoIP service, define your priorities: budget, features, devices, and international needs. Start with a calling plan comparison: note sub-$10 options like PhonePower and Voiply, but check activation and setup fees; some are free, others aren’t. Watch for hidden fees versus “no additional hidden fees.” If you want granular control, Callcentric sells inbound/outbound separately from $1/month plus setup.
Evaluate features by tier: spam blocking, voicemail-to-text, call forwarding, mobile apps (Ooma, Vonage, Grasshopper), number porting fees, and BYOD support (Grasshopper, Phone.com). For heavy international calling, consider Ooma’s low per-minute/add-ons or Vonage’s unlimited destinations; some plans include Mexico and Puerto Rico. When comparing providers, also assess customer support availability and quality, since reliable support can significantly impact your experience.
Favor no-contract, 30‑day guarantees, and annual discounts. For service provider selection, match needs: Ooma Telo (general), Voiply (simplicity), Vonage (international), Google Voice (free basics).
Essential Equipment and Network Requirements
Although VoIP is flexible, reliable home calling starts with a solid network and the right hardware. Prioritize a stable, wired connection; avoid satellite and public Wi‑Fi. Business-class fiber, cable, FIOS, or T1 is ideal. For best results, use a QoS router to prioritize voice packets so calls stay clear even when other devices are busy.
Apply minimum bandwidth considerations: budget at least 100 kbps up/down per concurrent call; while the FCC suggests under 0.5 Mbps download, you still need consistent upload and low latency.
Use a modem and a router (an ISP gateway often combines both). Guarantee the router supports Quality of Service; proper router QoS configuration prioritizes voice traffic over streaming, gaming, and downloads. Test your network for jitter and packet loss before rollout.
For endpoints, you can use VoIP phones, softphones, or analog phones via an ATA. Optional add‑ons: noise‑canceling headsets, PoE switches, LTE backup, and call recording devices.
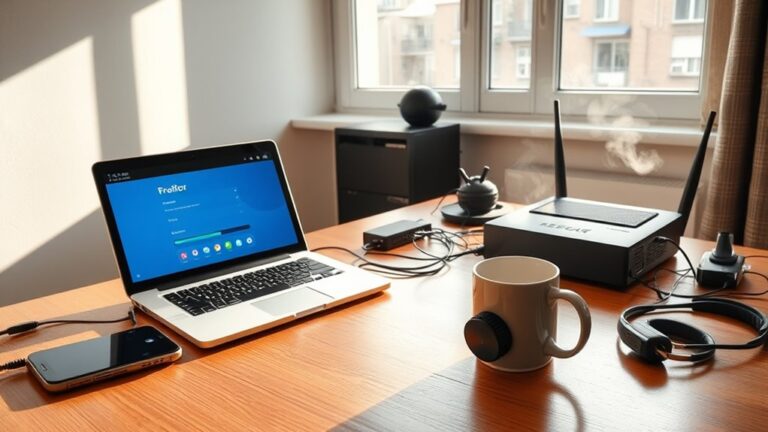
Physical Setup for IP Phones and Adapters
Even with a solid network, physical setup determines whether calls stay clear and reliable. Power everything down first. Connect IP phones or ATAs with CAT5e (or better) Ethernet to LAN ports on your router or switch—stay under 100 meters.
For PoE phones, use PoE-enabled switch ports; for non‑PoE, plug the power adapter into an outlet before attaching network. Maintain continuous power to adapters. VoIP relies on a strong internet connection, so confirm your router’s WAN link is stable before proceeding.
For ATAs, connect router LAN to the ATA, then analog phones to “Phone 1/Line 1.” Prioritize device placement near outlets and network access, and practice disciplined cable organization.
- Use intact, labeled cables; damaged runs degrade call quality.
- Sequence matters: wire first, then power; wait 30–90 seconds for LEDs to show readiness.
- Attach handsets/headsets correctly (RJ9/EHS); secure wireless bases to power and phone.
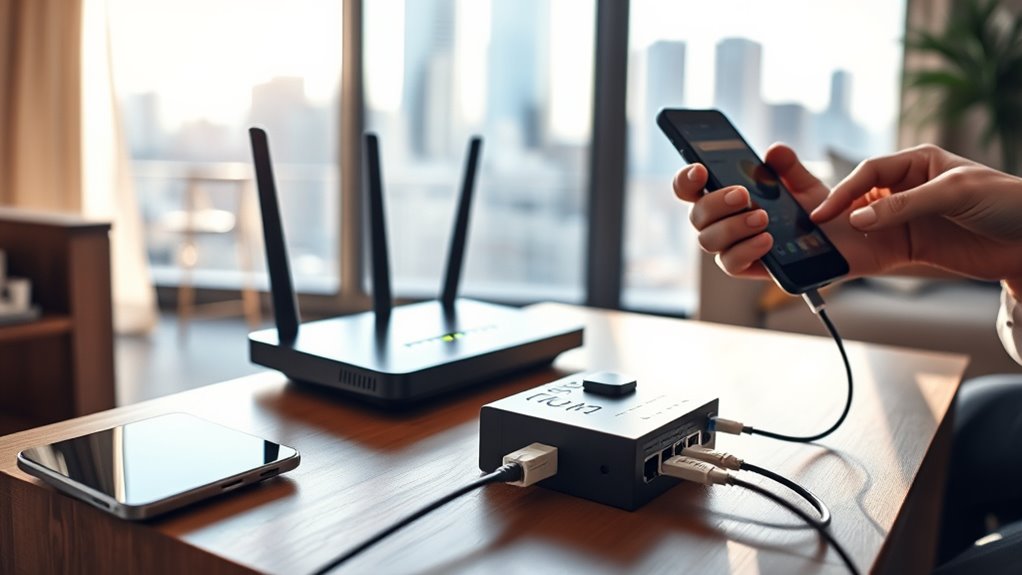
Account Configuration and Wi‑Fi Calling Activation
Typically, you’ll start by creating your VoIP account, confirming your email, and noting the username and password you’ll use to log in to the provider’s web portal. Enter payment details, then review the dashboard for plan info, assigned numbers, and configuration guides. Prioritize account credentials management: store the username (often your account ID or extension) and strong password securely. For best reliability, connect your VoIP phone to the router with an Ethernet cable instead of Wi‑Fi.
Follow registration process details in the portal to collect SIP parameters: server (e.g., sip.provider.com), domain, and port 5060 unless specified otherwise. On the phone, respond to the activation prompt, enter the activation code, press “#,” and verify your extension. Accept any firmware updates.
To enable Wi‑Fi calling, install the provider’s softphone app, sign in with your main credentials, and enable Wi‑Fi calling in network or call settings for seamless handoff. Configure voicemail, forwarding, auto‑attendant, numbers, and time zone.
Testing, Troubleshooting, and Call Quality Optimization
Precision starts with measurement: run a VoIP-specific speed test (Nextiva, OnSIP, 8×8, Ooma, or Speedtest.net) to capture latency, jitter, packet loss, and upload/download speeds from your location. Compare results to VoIP performance benchmarks: 0% packet loss, jitter under 30 ms (ideally <20 ms), latency under 70 ms (never >150 ms), and at least 100 kbps per call in both directions. Test at different times and locations to expose distance and congestion effects. Using a reliable VoIP solution like Nextiva can help avoid poor call quality and includes a built-in VoIP speed test.
Use network diagnostics: ping and traceroute to isolate ISP vs. local issues; share test links with remote workers.
Optimize the LAN: prioritize voice with QoS, enable SIP, segment via VLANs, and prefer wired Ethernet over Wi‑Fi.
Control load: cap heavy traffic during calls, verify upload capacity, tune codecs, and run synthetic call tests.
Frequently Asked Questions
Can I Keep My Existing Phone Number When Switching to Voip?
Yes—you can port your number to VoIP. Confirm provider compatibility, keep your current service active, submit your account details, recent bill, and LOA. Expect 5–10 business days. Use call forwarding options or a temporary number to avoid downtime.
How Do I Handle Emergency 911 Calls With Voip?
Enable VoIP 911 integration, register dispatchable locations per endpoint, and test routing. Understand emergency dispatch limitations: provide your location verbally, keep calls connected, and implement UPS backups. Configure on-site notifications, dynamic location updates, and verify NG911 compatibility to guarantee compliance and reliability.
What Happens During Power or Internet Outages?
During outages, your VoIP stops because power cuts routers and switches, and provider nodes may drop after backups deplete. Use battery backup options, enable call forwarding, leverage cellular hotspots, and consider network redundancy solutions or generators to maintain critical connectivity.
Are There International Calling Restrictions or Hidden Fees?
Yes. Over 32 countries restrict VoIP; some fully block or require state-approved apps. Expect hidden fees: tiered international rates, Wi‑Fi calls billed, roaming/data usage limits. Check blocked destinations, verification rules, and your service provider reputation before enabling international calling.
How Secure Are Voip Calls and How to Enhance Privacy?
VoIP can be secure if you enable strong encryption options (TLS, SRTP), use end‑to‑end encryption, and segregate traffic via VLANs. Harden admin access with MFA, monitor anomalies, use VPNs on public Wi‑Fi, and enforce encrypted call recording privacy.
Conclusion
You’ve got everything to start calling over the internet with confidence. Pick a VoIP plan that fits your usage, guarantee your modem, router, and bandwidth meet requirements, and wire your IP phones or ATA cleanly. Configure accounts, enable Wi‑Fi calling, and verify E911. Test call quality, then tune QoS, codecs, and placement to reduce jitter and packet loss. Keep firmware updated and document settings. If issues persist, isolate bottlenecks with speed tests and targeted resets.